There’s no doubt about it, having a facial is lovely. It’s relaxing, pampering and beneficial for your skin, whatever your personal skin type or issue.
But what happens if you don’t have the availability or budget to get a professional facial in a salon?
It’s time to discover how to give yourself a facial at home. By learning a simple routine, you can reap the benefits of giving your skin some TLC even if you’re especially busy or strapped for cash.
Benefits of Having a Regular Facial
I spoke to Hollie Simpson, a skincare specialist from Our Skin Academy, to grab her top tips on nailing your facial routine at home. Here’s what she had to say:
“Keeping our skin smooth, wrinkle- and blemish-free has never been so important than during the social media era. Everyone is a camera man these days and we want to look our best at all times. Getting regular facials is a must for the maintenance of healthy, youthful and clear skin.”
Hollie continues: “It is not always possible to get into the salon for working, travelling, or financial reasons so here is my go-to routine when my skin needs a boost at home. Do this monthly and your skin will thank you for it!”
How to Give Yourself a Facial at Home
Here’s Hollie’s comforting, pampering routine – no painful extractions or extensive product needs here – for how to give yourself a facial at home.
1. Gather the Equipment You’ll Need
First things first, to give yourself facial at home you’ll need the following:
- Your favourite cleanser
- Exfoliating product (optional)
- Cleansing tool (optional)
- Massage tool (optional)
- A facemask of your choice
- A facecloth (optional)
- Serum
- Eye cream
- Moisturiser
Then it’s time to get to work!
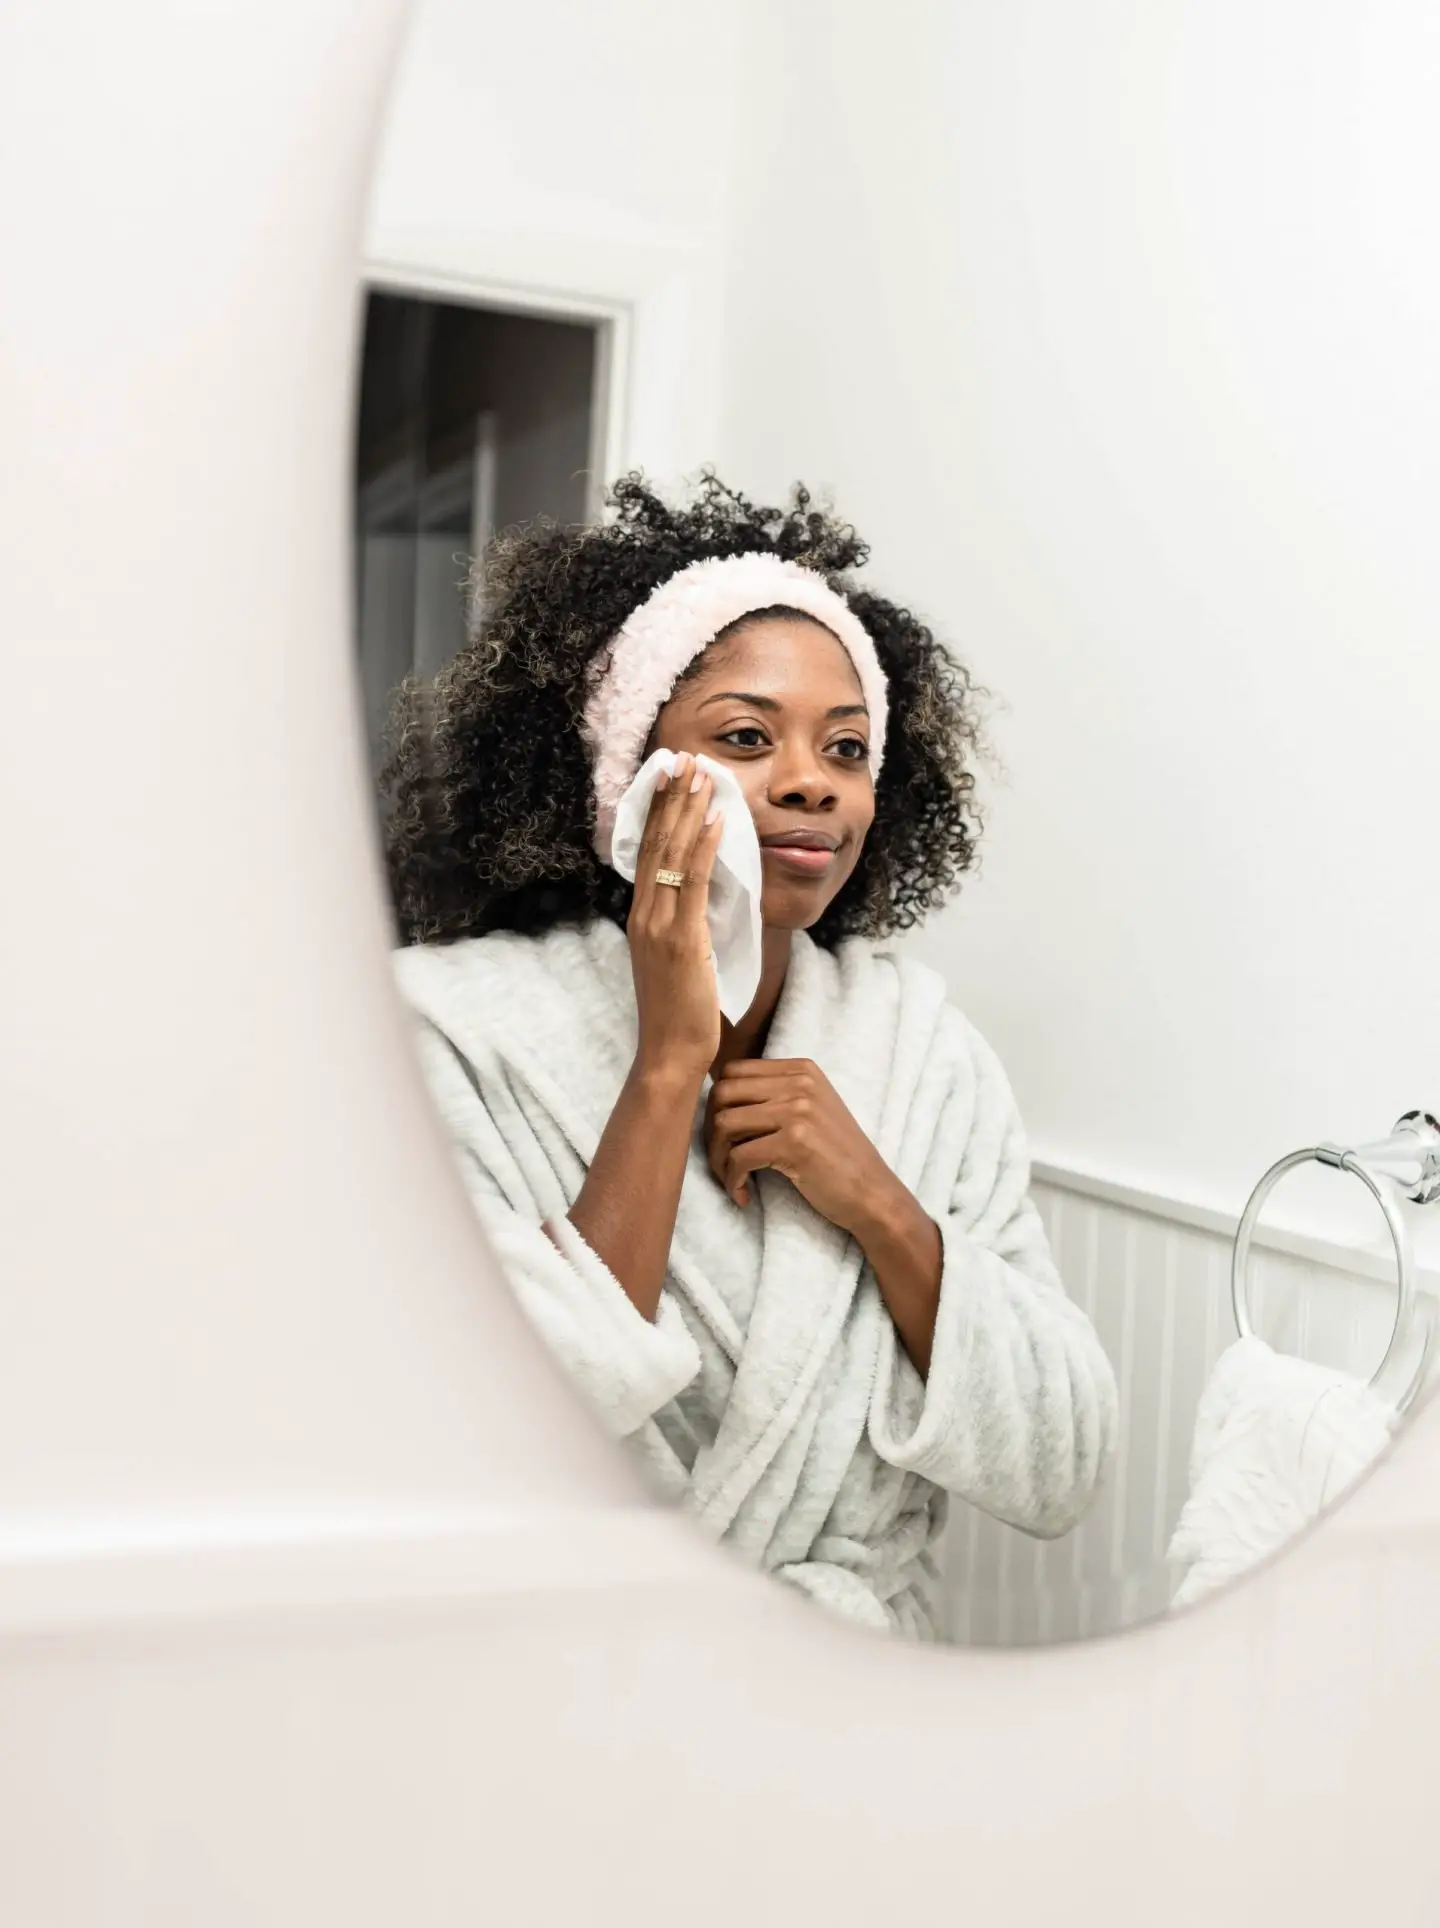
2. Double Cleanse to Remove Dirt, Oil and Makeup
Start with a double cleanse. The first cleanse is to remove makeup and daily debris. The second cleanse is what actually will be cleansing the skin.
By doing this, you’ll be able remove any pore-clogging nasties and dead skin cells from the surface of your skin to allow products to penetrate more effectively.
For an extra thorough cleanse, and to differentiate from your usual routine, try a cleansing brush or device combined with a product that contains Alpha Hydroxy Acids (AHAs), Beta Hydroxy Acids (BHAs) or an enzyme cleanser for an amazing exfoliating second cleanse. This can also help to reveal new skin, restore glow and help with dark spots, scarring or an uneven skin tone.
3. Time to Self-Massage
After you deep cleanse and exfoliate, you want to start to stimulate blood flow to your skin, drain retained fluid and release tight muscles in the face.
Learning how to massage your face is a great way to keep your skin looking good and your facial symmetry balanced. You can even combine your massage with facial yoga (check out some YouTube tutorials for routines) to help keep your face lifted and toned.
You can massage using your hands for an easy, free tool but if you want even more benefits you can try using a tool like a gua sha stone to relax and help your face to naturally drain. This can reduce puffiness and swelling, but go easy on your skin if you have acne or sore skin.
I love the RoselynBoutique Jade Roller and Gua Sha Set* from Amazon for under a tenner!

4. Add in a Face Mask
For an even more concentrated skincare boost, you can apply a face mask that’s right for your skin type and any issues you’re trying to deal with.
If you have thirsty skin that needs hydration, ingredients like hyaluronic acid can add moisture back into your skin. AHAs and retinoids are perfect for older or textured skin, whereas pre and probiotics are great for aggravated or distressed skin.
Adding in a scalp massage and deep breathing exercises while your mask is on is a great way to destress and release tension. Just maybe close the door if you’re not home alone.
5. Don’t Forget the Final Touches to Your Facial at Home
Finally, remove your mask with warm (not hot) water and a face cloth if you use one. Be gentle on your skin, especially if you’ve already exfoliated.
Finish with your favourite serum, eye cream and moisturiser, with a little more massage if you want to.
Do something relaxing for the rest of your day, if you can, to continue your pampering relaxation session.
How to Maintain Your Skin Between Facials
As well as her tips for how to give yourself a facial at home, Hollie recommends these top tips for maintaining your skin between facials:
- Nutrition and hydration are really important for the skin.
- Use the right products for your skin type and condition.
- Wear SPF when you’re outside, even if it’s cloudy or you think your skin has natural protection.
It’s important to keep up your routine between facials too, rather than just using it as a quick-fix to undo any damage that’s been caused to your skin. Consistency is key when it comes to skincare, and building up an easy routine that you can stick to is one of the best ways to see longer-term benefits.
The routine we’ve outlined doesn’t need lots of specialist tools or products. It can be easily done with what you already have available. That makes it perfect if you’re busy, on-the-go or don’t have the budget to splash out on a whole load of new products.
Your Passport to Healthy Skin and Relaxation
Now that you’ve learned how to give yourself a facial at home, you can take the time to indulge in some pampering that’s just for you.
Don’t underestimate the health and wellbeing benefits of taking time out for yourself, especially if you’re busy, travelling or you feel like you need some down-time. It does wonders for both your mental and physical health!
This article was written by Lucy Thorpe, a freelance writer and marketer from the UK. She specialises in writing about beauty, fashion and lifestyle (with a bit of marketing thrown in for good measure). In her spare time you can find her reading, cooking or heading off to explore nature from her home at the edge of the Peak District.


Leave a Reply