I tend to have two different go-to makeup looks.
Makeup look number one: my everyday face. You know, the one you wear for the office, running errands or grabbing coffee with your neighbour Sandra. This usually consists of a BB cream or light foundation, concealer for covering up any pesky breakouts, and black, volumising mascara as the key three staples.
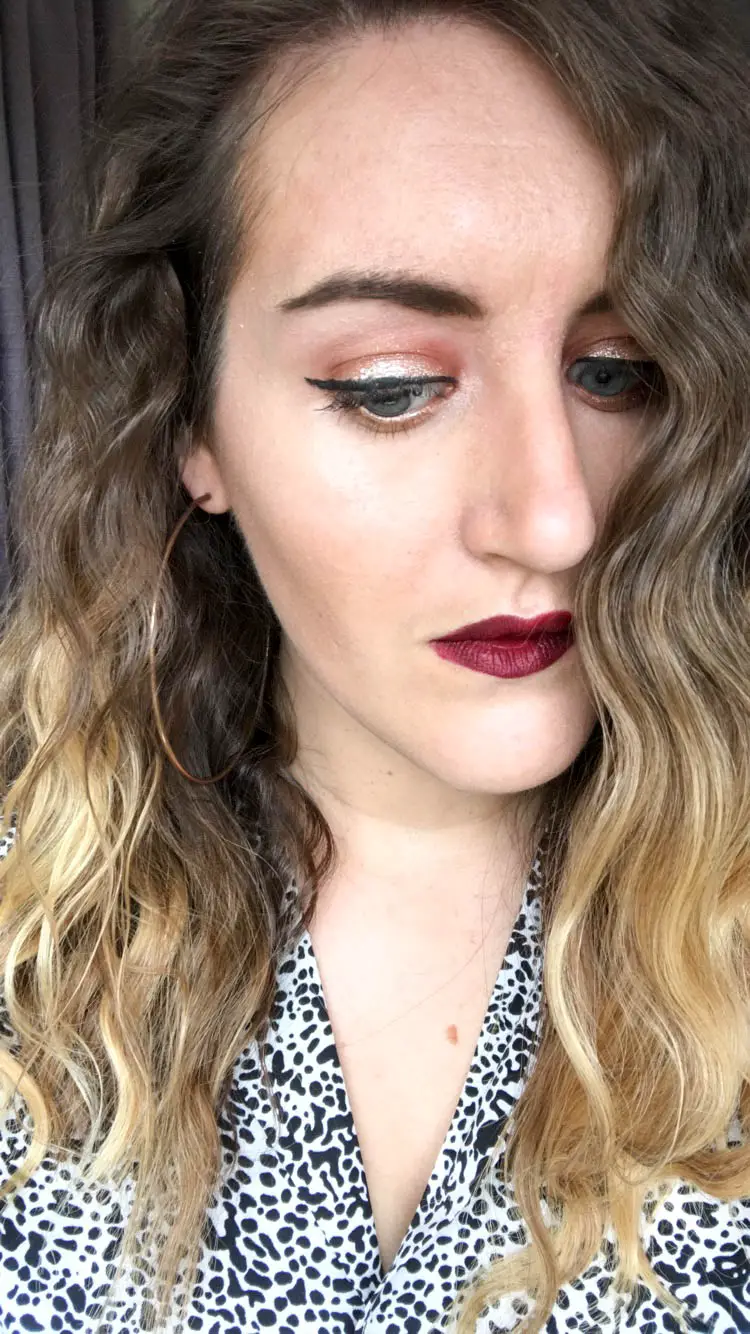
Then there’s look number two: the going out makeup. You know, the kind where more is more, it’s all about the sparkle and OMG if it gets smeared all over your face by the end of the night then this is just a sign you’ve had a fantastic time.
(Know what I mean?)
Regardless, going out makeup has to be significantly fancier than your everyday face.
Why? Well, it needs to suit the occasion, for one. Let’s face it, BB cream doesn’t exactly scream “check me out – I’m partying hard.”
However, if you were wearing glittery eyeshadow, for example, you’d look like the ultimate disco Queen.
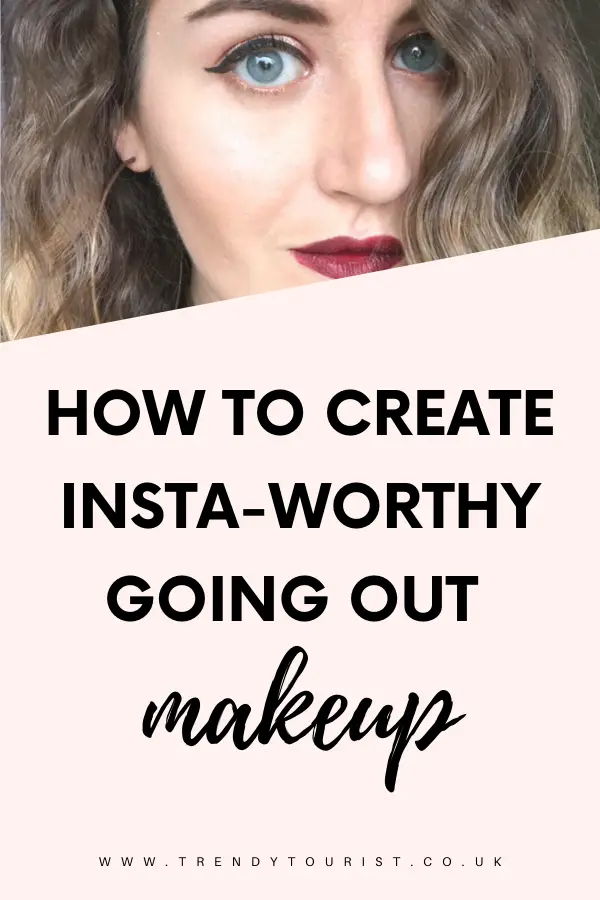
The only downside when it comes to going out makeup these days is that it HAS to be Instagram-worthy. If it ain’t good enough for the ‘Gram, then it ain’t good enough for partying. Period.
Need a little help achieving Insta-worthy going out makeup? Not to worry. Whether you’re heading out for a bottomless brunch with the work gang or clubbing it up for your bestie’s birthday, I’ve got you covered.
1. Prep and Prime Accordingly
First things first, preparation is EVERYTHING in the world of makeup.
Just like you wouldn’t slap on a load of fake tan before showering first, you wouldn’t put on your face without ensuring the necessary preparation has been covered.
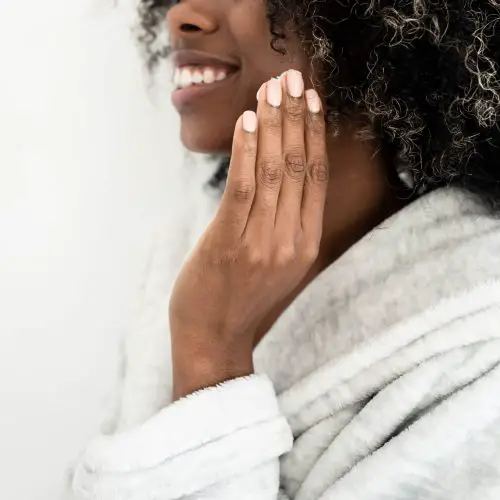
Before you can even begin to apply your going out makeup, be sure to cleanse and moisturise your face.
Then rub on a face and eye primer, like M.A.C’s Prep + Prime Skin Refined Zone*, which will minimise the appearance of your pores, control oil and provide a smooth surface for your makeup to be applied to.
2. Create a Flawless Base
Next up, apply foundation with a foundation brush or your fingers (whichever you prefer).
Personally, I love M.A.C’s Studio Sculpt Foundation*. It’s gel-based so super creamy and easy to apply, contains SPF15 and offers medium-to-full coverage with a natural finish.
Once your skin is looking immaculate, get going on the concealer. The Estee Lauder Double Wear Stay-in-Place Flawless Wear Concealer* makes my spots practically disappear and also works wonders under the eyes if I have any dark circles.
The Maybelline Eraser Eye Concealer* is also a miracle-worker for brightening up certain areas of your face, like your cheekbones, or eliminating patches of redness.
And trust me, once you try this product, you’ll never want to stop using it.
3. Contour and Highlight to Perfection
Once your skin is radiating like the skin of the women that feature in L’Oreal’s TV ads, you can then advance to contouring and highlighting stage.
With contouring, you’re aiming to sculpt and define the areas of your face that you want to hide or push back.
With highlighting, it’s the complete opposite. Highlighting draws attention to certain parts of your face to purposefully make them stand out.
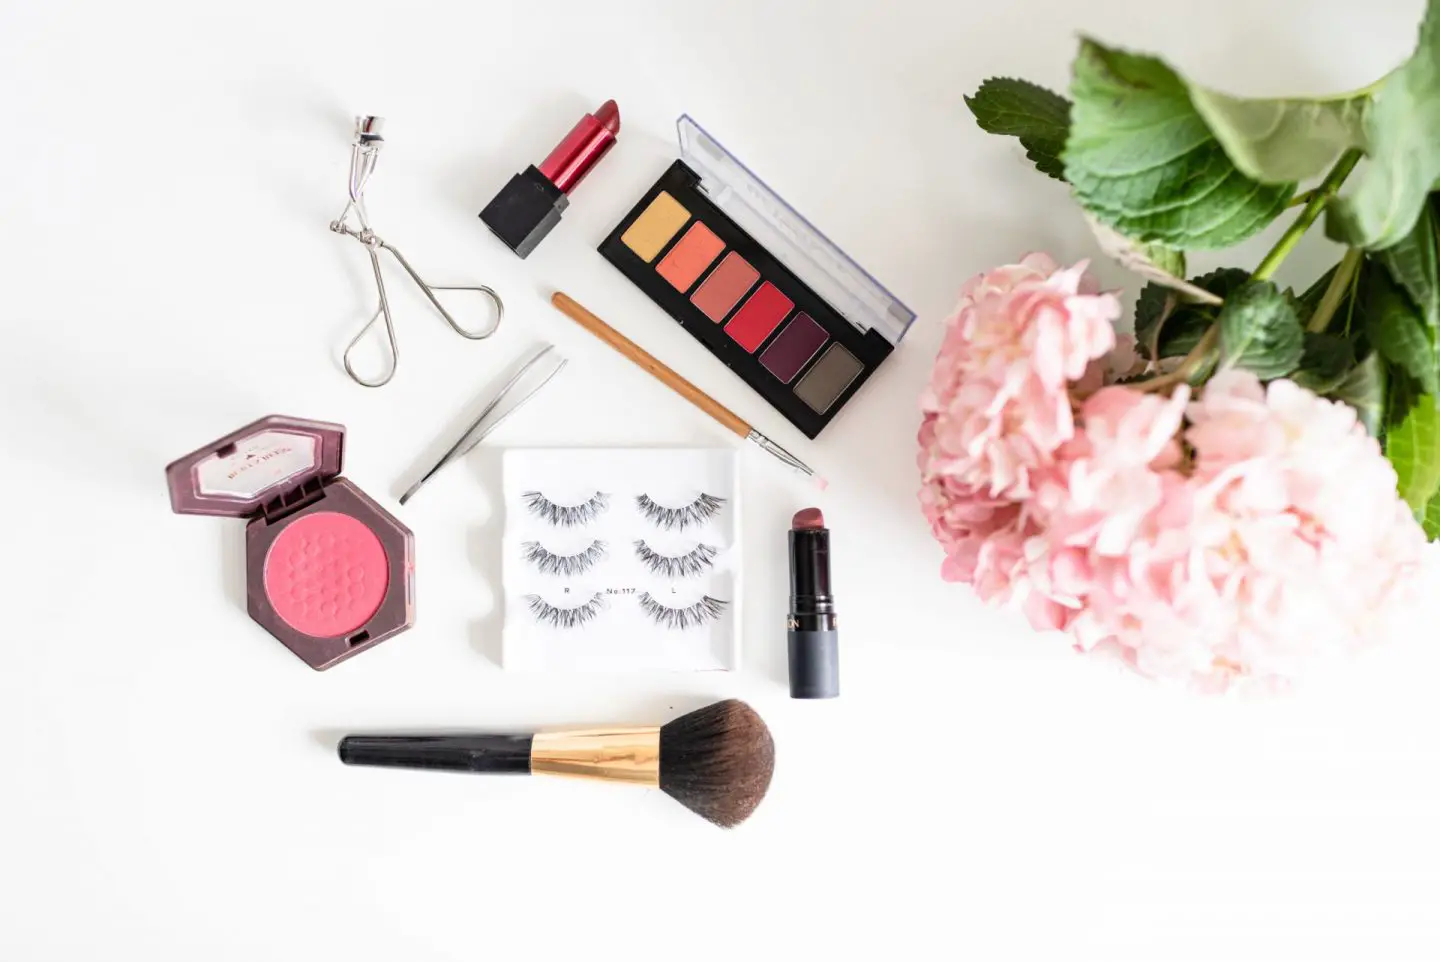
If you want to be a contouring and highlighting pro, grab yourself the NYX Wonder Stick* and proceed with the following steps:
- Apply the dark shade diagonally underneath each cheekbone in the hollow of your cheeks, on either side of your nose and around your hairline. Blend in the product using a blending sponge.
- Use the light shade down the centre of your nose, on the bridge of your nose, in the centre of your chin, on your cheekbones, on your brow bones, in the centre of your forehead and on your cupid’s bow.
- Blend it in using a blending sponge before adding a few dots of Benefit’s High Beam Liquid Highlighter* on top of the light shade. Rub in the product gently for a fresh, dewy glow.
- Afterwards, add a touch of bronzer in the hollows of each cheek, such as Benefit’s Hoola Matte Bronzing Powder*, to further accentuate your cheekbones.
Finish off your face by dusting Laura Mercier’s Loose Setting Powder* all over your skin with a fluffy powder brush to make sure that it stays in place all day and night.
Two words: tres chic!

4. Make Your Eyes Pop
If you deem your eyes as your best feature, you might want to pay this area special attention.
After all, if you’re not willing to spend time making your eyes pop for partying then you might as well not show up. Go big or go home, I say!
(Who’s with me?)
Eyeshadow
First and foremost, invest in a decent eyeshadow palette, like the Urban Decay Naked Heat Palette*.
Then pick out a dark and a light tone that perfectly co-ordinates or clashes with your outfit before proceeding with the following steps:
- Use a small fluffy eyeshadow brush to apply skin-toned eyeshadow as a base across each lid and up towards your brow bone.
- Use another small fluffy eyeshadow brush to apply your chosen light eyeshadow across each lid and directly under your waterline.
- Apply your chosen dark-toned eyeshadow in your crease as a contour hue and blend towards the outer corner of each eye.
- Grab a glitter or metallic eyeshadow, like the NYX Holographic Halo Eye Tint*, and apply it to the centre of each lid and under your waterline.
- Apply a touch of highlighter in the inner corner of each eye with your little finger to bring out your eyes even more.
Eyeliner
Once your eyeshadow aesthetic is complete, grab a dramatic black liquid eyeliner, such as Rimmel’s Exaggerate Liquid Eyeliner*. Next, draw a smooth, thick line directly above your upper lashes from the inner corner to the outer corner of your eye.
And make sure you flick out the ends at a 40-degree angle to create a feminine, feline look.
Lashes and Brows
In terms of your lashes and brows, the trick is to make them prominent as possible. You can do this by using a ton of black, volumising mascara on your upper and lower lashes.
I love TooFaced Better Than Sex Waterproof Mascara* because it looks like I’m wearing false eyelashes even when I’m not.
For your brows, you can proceed with the Anastasia Beverly Hills Dip Brow Pomade* with the corresponding Brow Wiz* to create the high definition aesthetic that we all know and love.
Once all these steps are complete, your eyes are sure to WOW on your Insta photos. Just let the likes speak for themselves.
5. Get Lippy
The fifth and final step is to get lippy with your going out makeup.
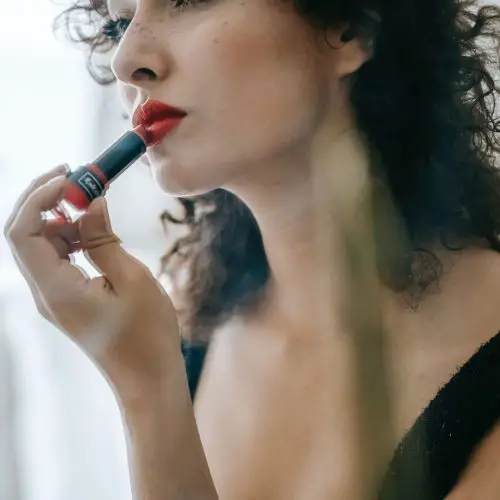
Did you know that bold lips reigned supreme at AW18 designer shows such as Alexander McQueen and Rochas? That’s why, if you want to up the ante for your party setting, you should adhere to this trend.
Whether you go classic red or something more obscure like a dark purple, be sure to experiment with various colours to find out what works best for your skin tone.
Once you’ve picked out your shade, proceed with the following steps:
- Pick out a lipliner that matches your chosen lip colour. If you’re struggling to choose, traditional red is always a safe bet. Get things started with the M.A.C Ruby Woo Lip Pencil*.
- Apply your vibrant lipstick once, blot it and then re-apply. If I’m wearing red, Chanel’s Rouge Allure Velvet Lip Colour* is my current go-to.
And remember, in the case of going out makeup, bigger is always better. Embrace your inner maximalist and don’t be afraid to take risks.
Achieving Insta-Worthy Going Out Makeup
Creating an Insta-worthy going out makeup look takes some practise. Having said that, with the right products, you’re guaranteed to stand out in a crowd for all the right reasons.
Oh, and once all your going out makeup is in place, don’t forget to finish everything off with the Urban Decay All Nighter Setting Spray*. It will set your makeup and extend its life so you can party for longer without it budging an inch!
Now, that’s what I’m talking about.
What are your favourite going out makeup products?
![Dora the Explorer 🧳
Loved getting lost in Nice’s backstreets yesterday!
Also made it up Colline du Château, which has the most beautiful panoramic views of the city. 🤩
For lots of walking around in the warm weather this @hm sundress was a life-saver!
Temperatures felt sticky and I appreciated 100% cotton against my skin. 🥵
Next on the agenda: Cannes! Xoxo
[Ad - pr @jet2pics]
#nicefranceriviera #frenchrivieralife #frenchrivieraplaces #frenchrivieravibes
#nicetravel #vacationstyle #vacationoutfits #vacationfashion #holidaystyle #holidayoutfits #holidaylooks #travelfashion #summerdress #summerdresses #travelstyles #travelfashionista #travelgirlshub #travelgirlsgo #travelblogs #travelbloggerslife #travelbloggeruk #uktravelbloggers #uktravelblogger #hmxme #hmoutfit](https://www.trendytourist.co.uk/wp-content/plugins/instagram-feed/img/placeholder.png)

Leave a Reply